In part three we covered how to create a SharePoint list, with the goal of storing the input from our Teams request form. In this post we’ll conclude this part of the process, by using Microsoft Flow to integrate the request form with the SharePoint list.

We’ve now got a request form, and a SharePoint list to store the responses. Let’s see if we can’t use Flow to tie the two together.
You’ll find Flow in the Office portal or by navigating to flow.microsoft.com. On the landing page you’ll see a search bar, and since we’re looking to connect Forms with SharePoint we’ll search for that.
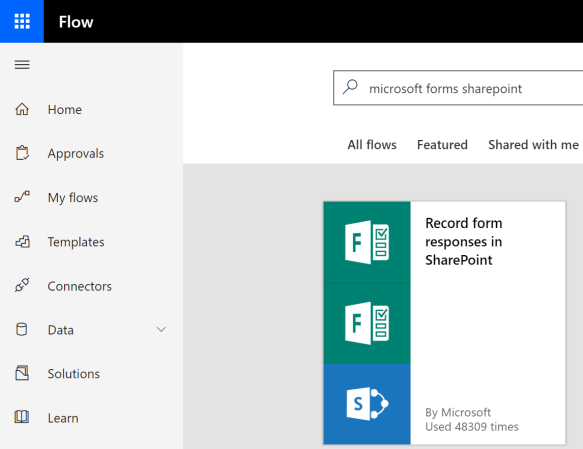
The first hit is Record form responses in SharePoint, which is exactly what we’re after, so let’s choose that.
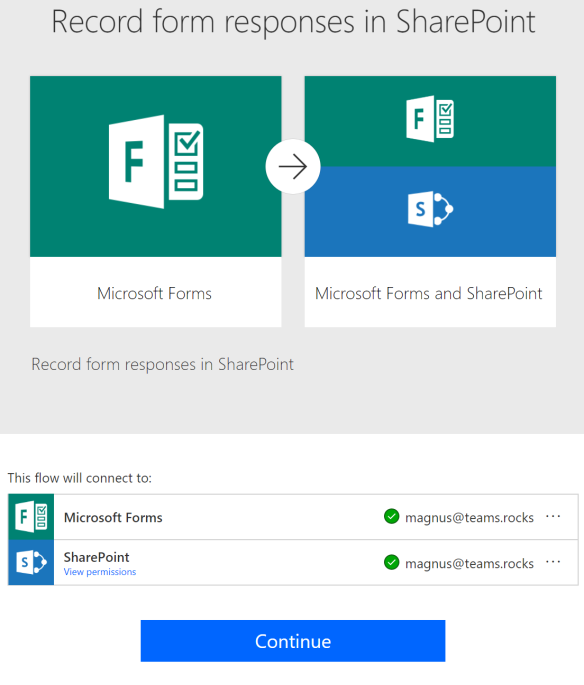
We’ll get some more information about this template and what it needs to connect to, as well as a way to specify what account should be used to connect to these services.
Pro tip! It’s generally a good idea to use a licensed service account in automated processes like this.
When we click Continue we’ll be presented with the standard template. There’s a few options we’re required to enter, like the source form, as well as the destination list.
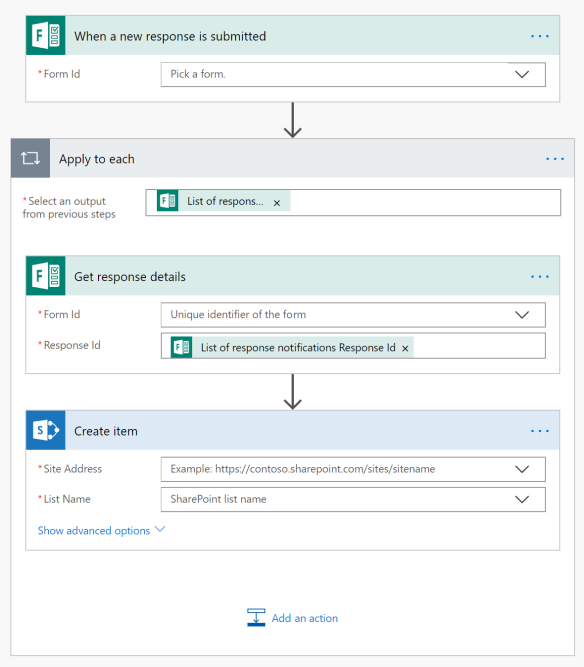
When the list is specified it’ll pull the columns, enabling us to dynamically match answers from the request form with the appropriate column in the list.
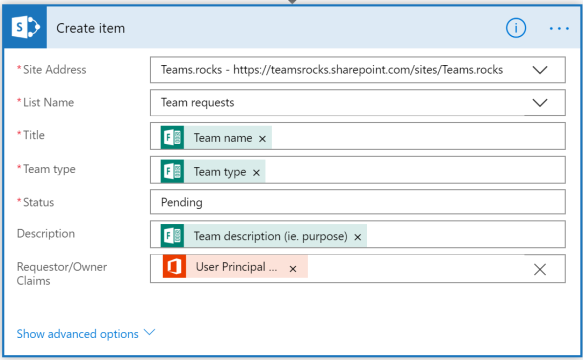
As mentioned we’ll use the Title column for Team name, and we’ll match both Team type and Team description with the appropriate columns.
Next we’ll add a descriptive text string to Status, informing users that the team request is pending.
The Requester/Owner column is actually populated with something not covered in the standard template. We’ll need to add an action called Get user profile (V2) to fetch user profile information from Office 365.
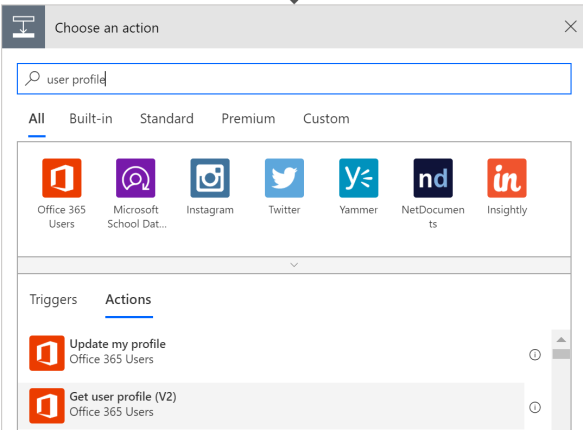
Let’s click the + icon above the SharePoint create item action, search for user profile, and add the Get user profile (V2) action.
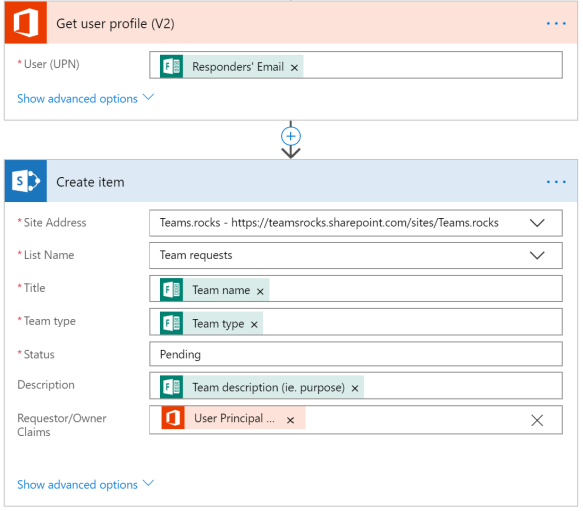
We’ll add the email address of the requester in the Get user profile (V2) action using Responders’ Email from the form, and finally add the User Principal Name item from the former as shown above.
The above configuration requires that your User Principal Name (UPN) matches your e-mail.
Finally let’s save the flow and request a team to confirm that the SharePoint list is updated.
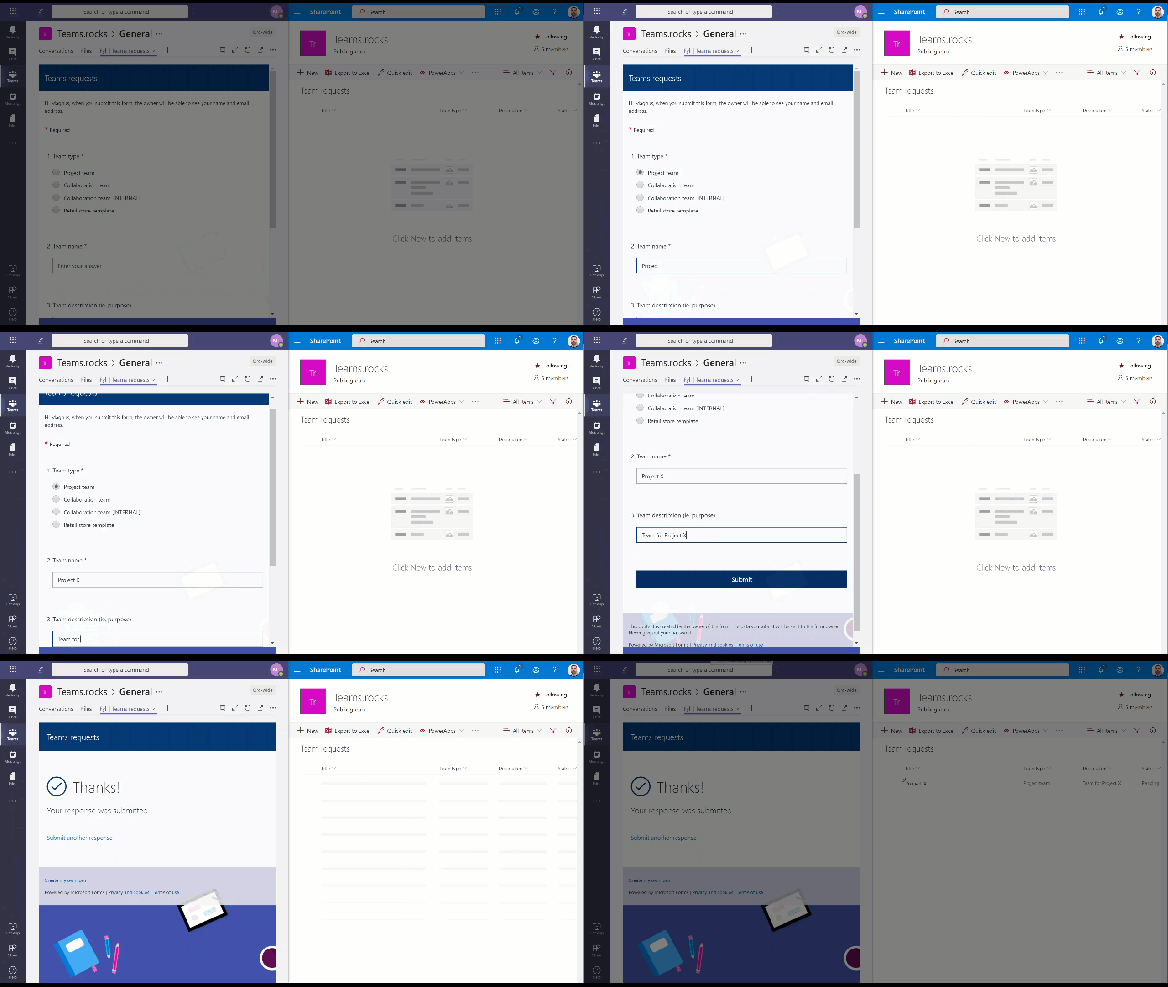
That’s it for today’s post, but make sure to follow my blog, to be among the first to learn how to automate team creation based on this request form, add manager approval and more.
If you have any questions or feedback, don’t hesitate to leave them in the comments below.

Pingback: Take control of your Microsoft Teams environment part 5 | Teams.rocks